Learn How to use the Whitewash Technique on Your Next Project.
Whitewash can be straightforward but it can be easy to make simple mistakes. Here’s how to perfect the Whitewash technique to get your perfect finish on your next project.
TOOLS NEEDED
Glass jar or bucket for mixing
Water
Rust-Oleum Chalk Paint Linen White (or paint of your choice)
Step 1. Examine any imperfections and prepare to use wood filler on any holes. The most important thing to keep in mind is, you are Whitewashing this project. Wood filler will still show its big ugly face, so if you don’t need it, skip steps 2 + 3 if you do not need to fill any holes.
Step 2. Apply wood filler to the holes and allow them to dry before sanding.
Step 3. Use a sanding pad (120 or 220 pending on your damage) and sand down your surface. 220 will be lighter sanding, 120 is for the tough jobs. If you start with bare wood, do not spend too much time sanding your area down to perfection. Pre-sanding serves to support your finish product, clearing off previous paint, stain or wax, and smoothing out imperfections.
We recommend not using the foam sanding blocks; you waste time and money as they do not do the job correctly.
Step 2. Clean the surface; some projects need a reliable cleaner. For this project, we recommend applying mineral spirits with a lint-free rag to pull up all the dirt from your sanding and prep your surface as clean as possible.
Step 3. Prep the Whitewash. In a separate container, mix your white paint with water. Make sure to test your Whitewash before applying entirely. It’s always best to start with less water and add more per needed. You can always add, but you can’t remove it. If you have a spare piece of wood, use this as your test surface. Testing works best if the wood is the same type as the wood for your project. Once you get your mix to the perfect amount, you’re ready to go.
Step 4. Apply the Whitewash. Whitewash is just like staining; Apply the Whitewash with a brush and then wipe it off. To achieve a light wash look you, wipe the surface immediately after it is applied. To achieve a darker wash, wipe the surface after letting it sit for a few minutes. Let the Whitewash dry overnight. Repeat this process the next day until you achieve the Whitewash you want.
Step 5. Add the finish. Choosing a finish is up to you, depending on if you want a matte finish or high gloss, it is always best to seal your finished project. We recommend a water-based polyacrylic - this way, there is a guarantee of no yellowing. Let the protecting finish dry overnight.
Using an oil-based polyurethane will eventually yellow your finished product over time.
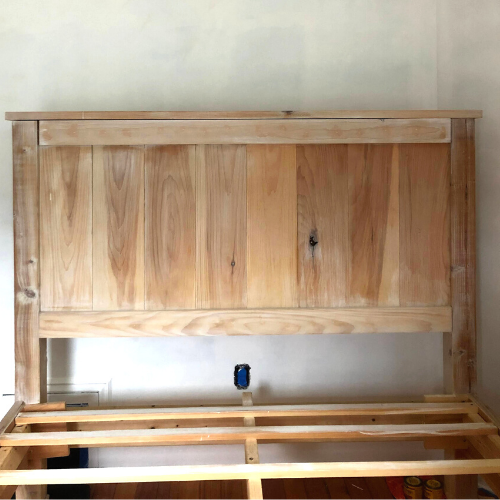
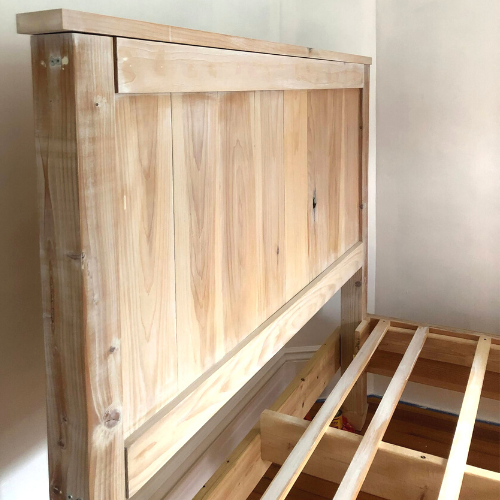
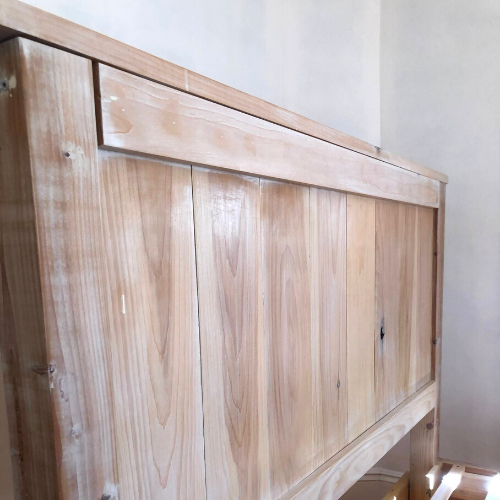
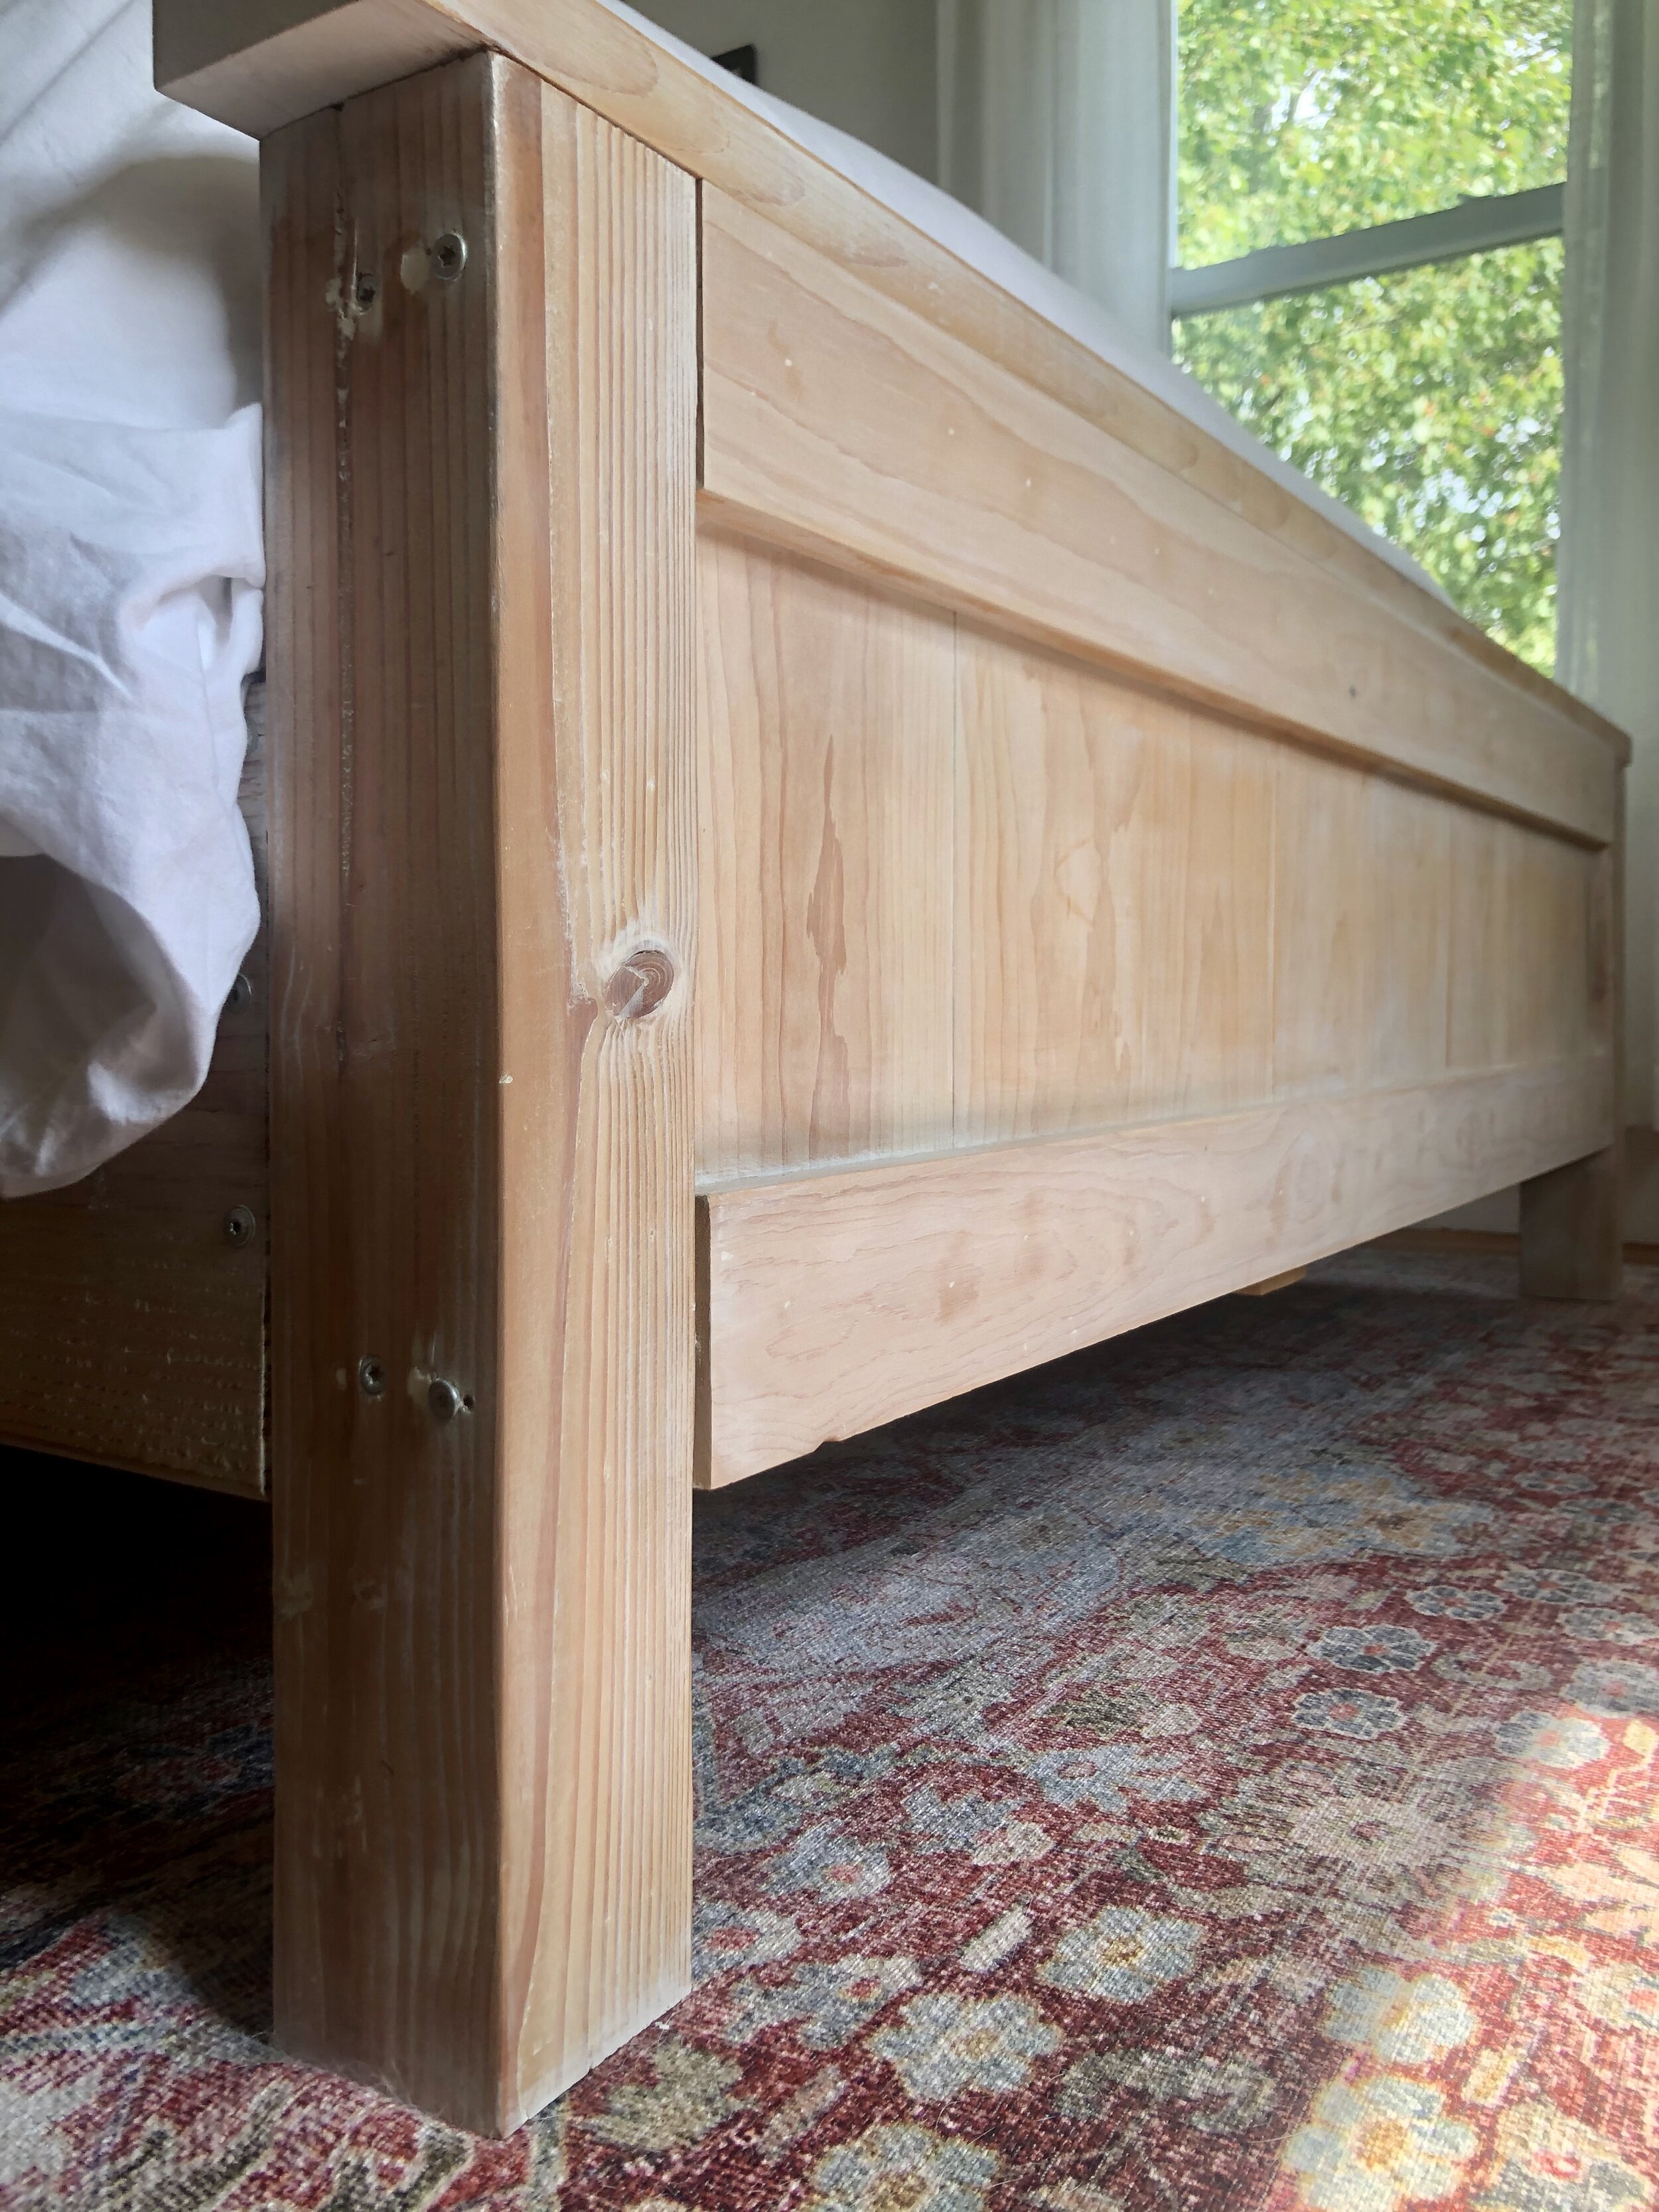
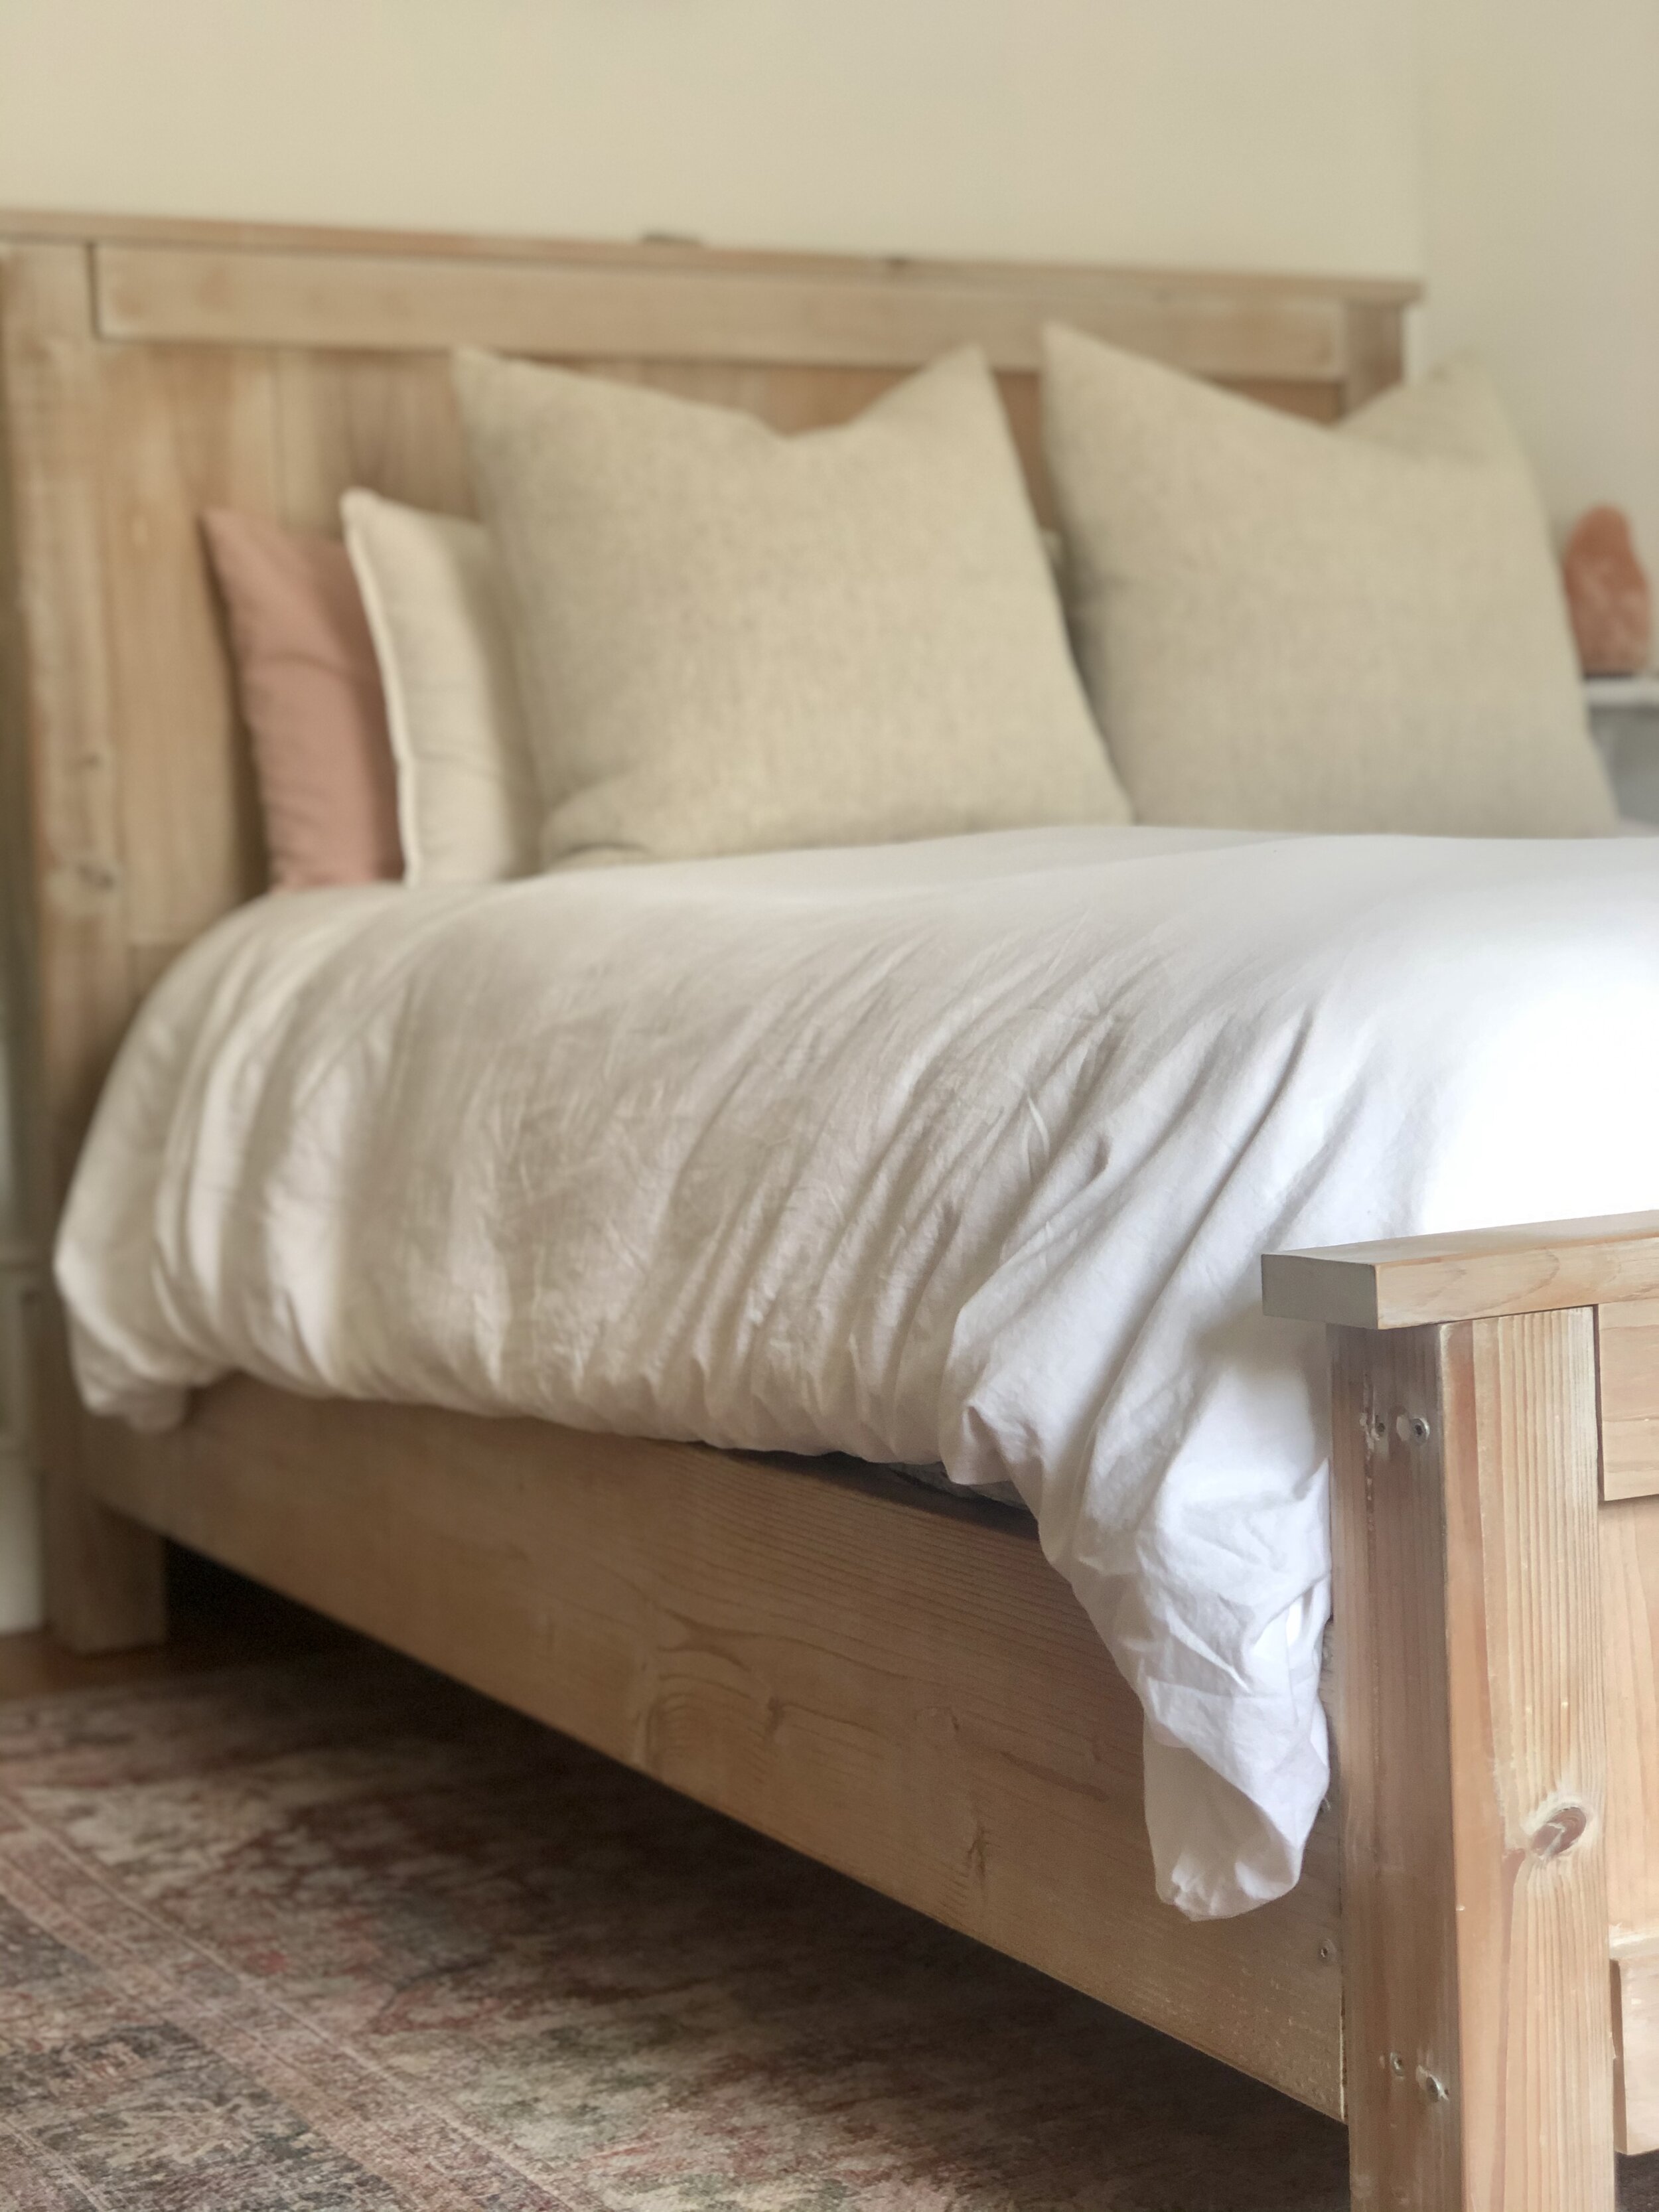
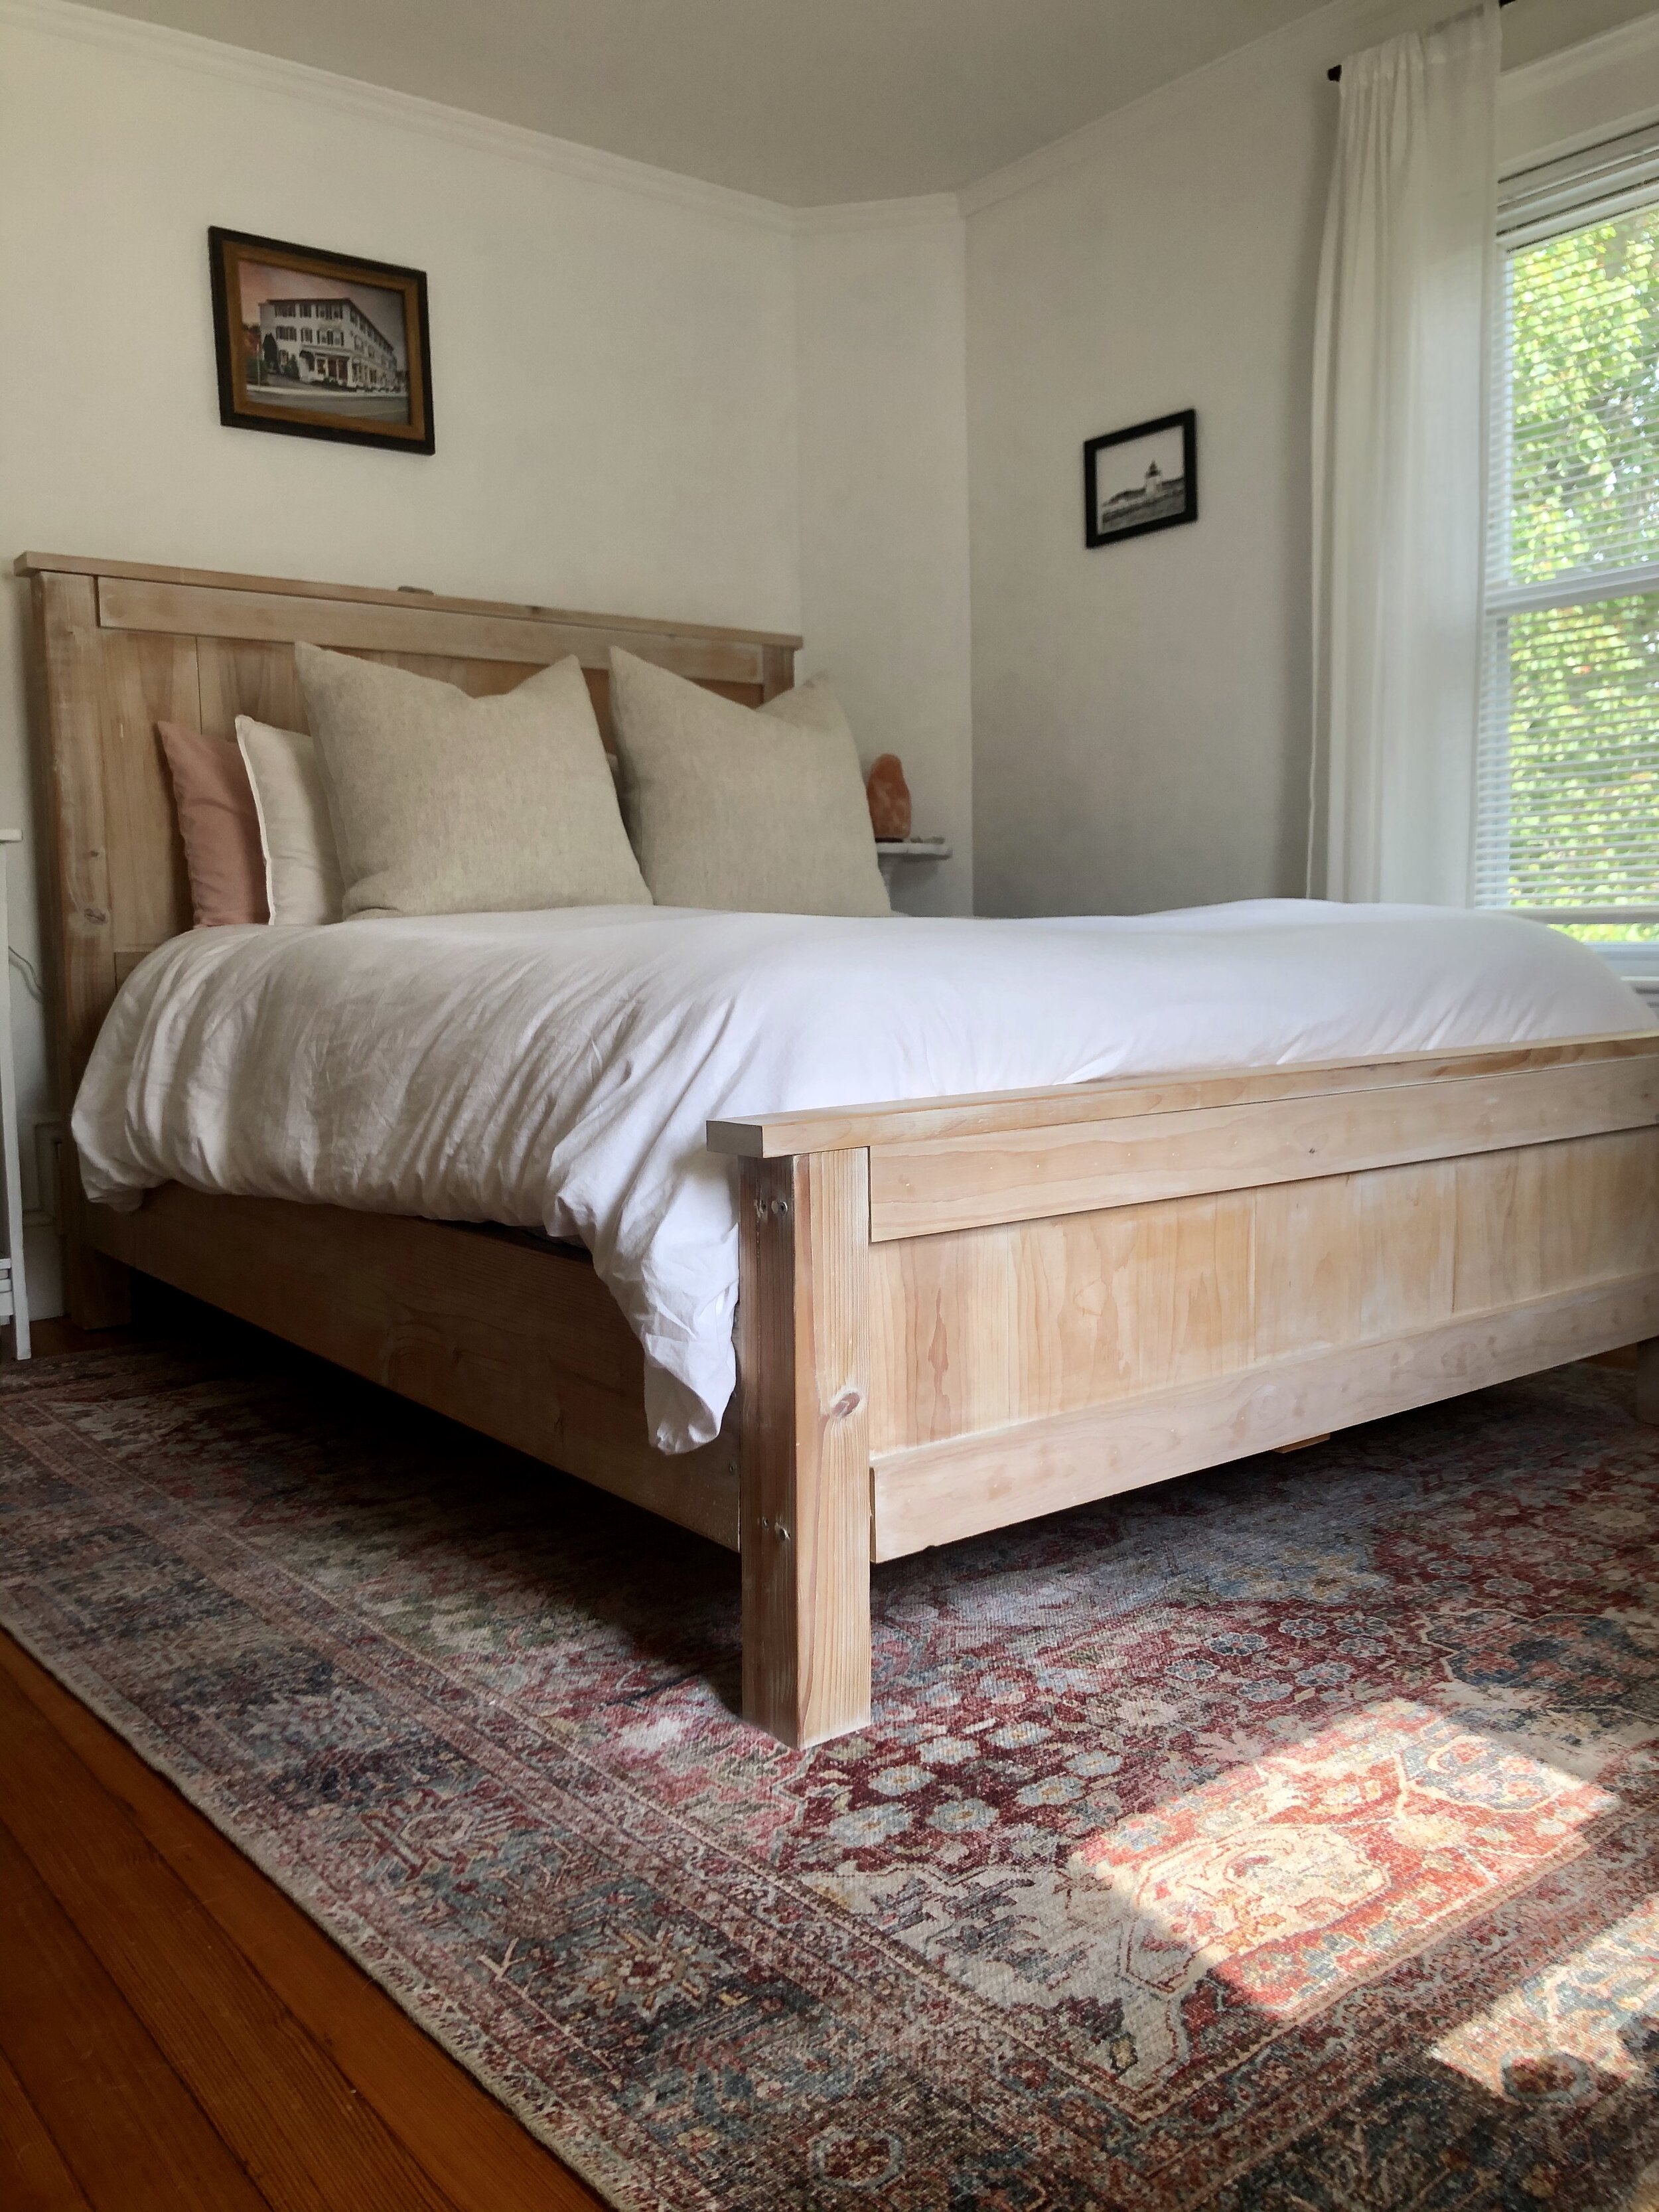
For the farmhouse bed featured, we added a step to the process. Before applying our finish (Step 5), we used two coats of Varathane Ipswich Pine after our Whitewash.
Step 6. Lightly Sand. Using your 220 sanding pad, lightly sand your piece to create a beautiful smooth surface. You can skip this step if you don’t mind a rougher surface to the touch.
Step 7. Clean & Enjoy. With your lint-free rag + light water, remove any sanding residue to have a beautiful clean product to enjoy.
Fun fact; although it’s called Whitewash, you can do this with any color paint. Give it a try, and be sure to tag us at Daily Origin + Daily Origin Home #DOyou #DOHG with your finished projects!